Settings by connection type
Network
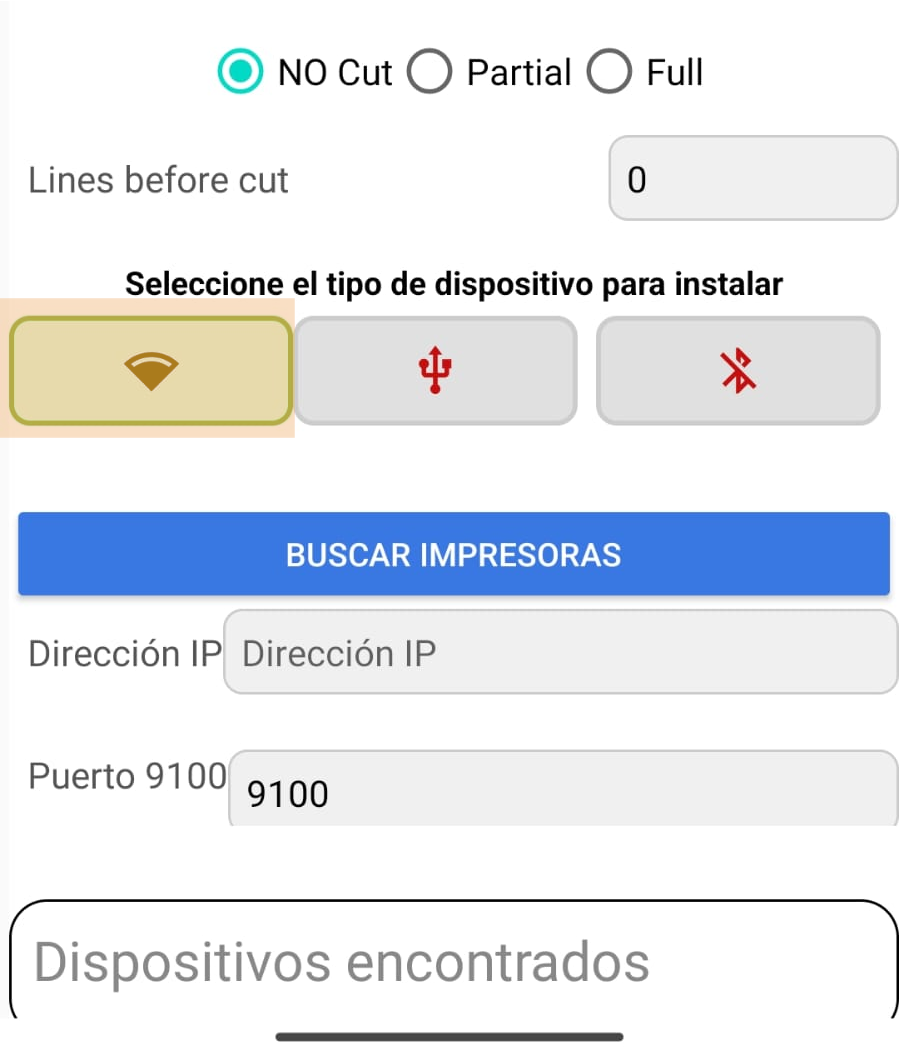
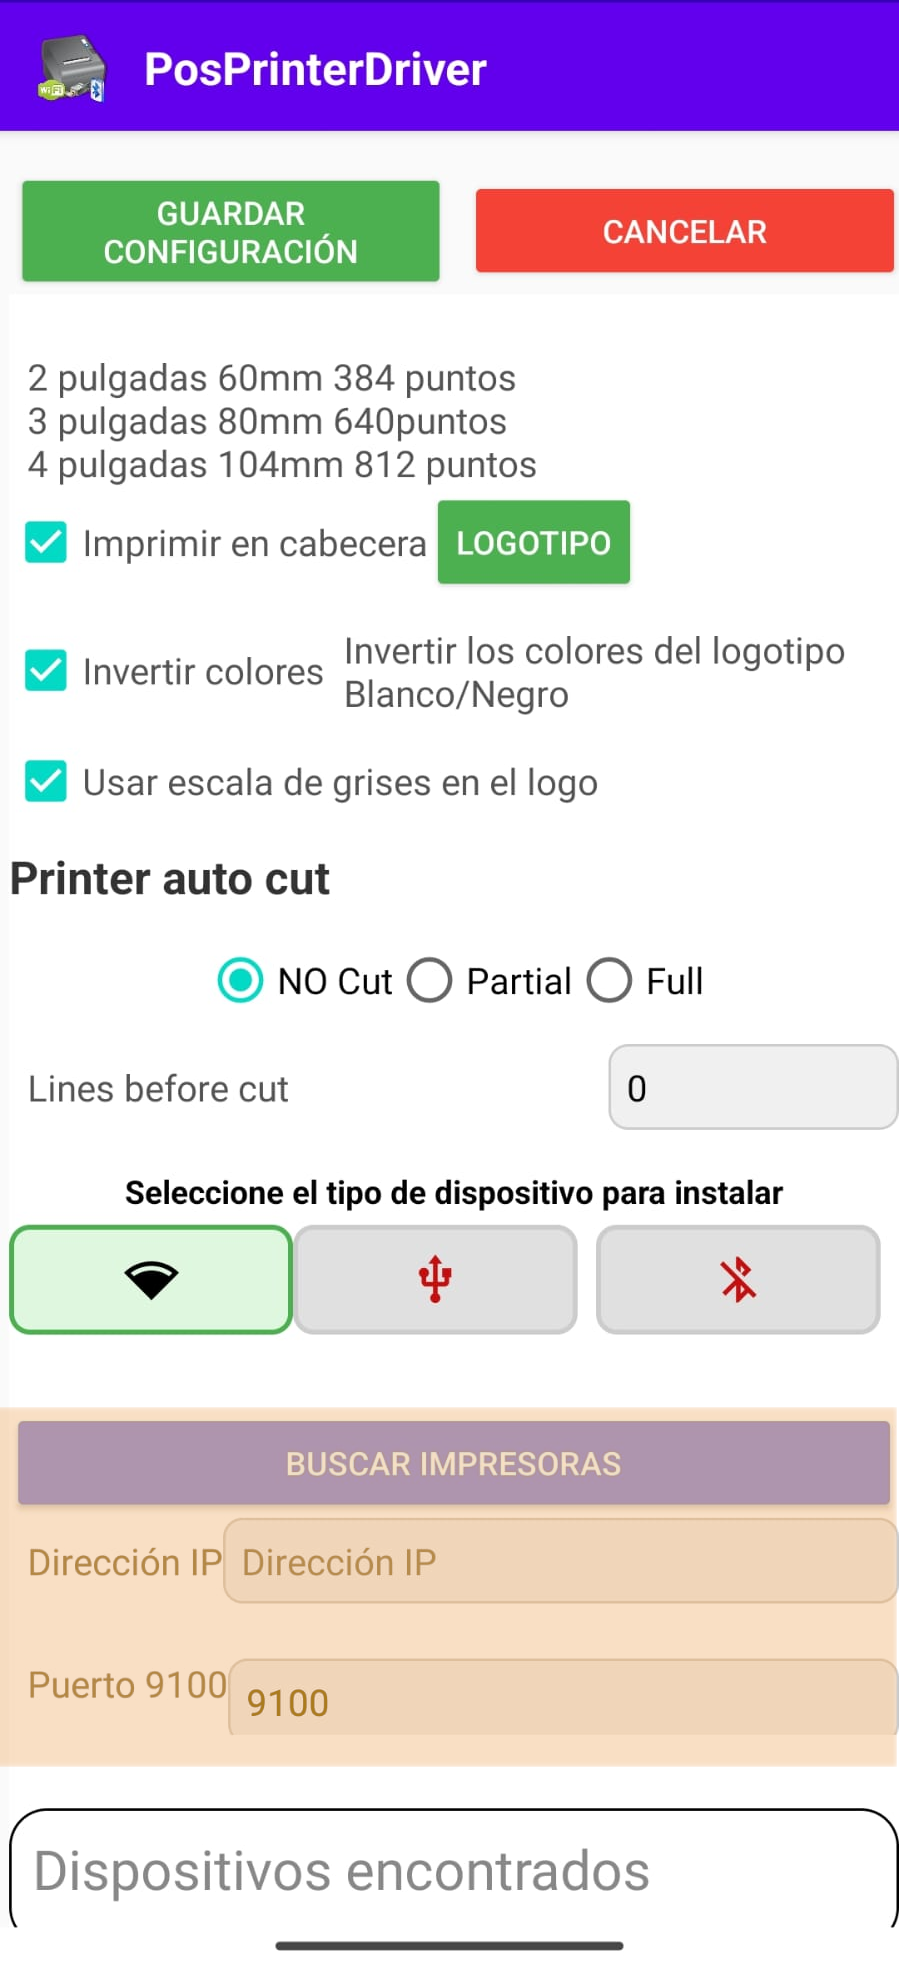
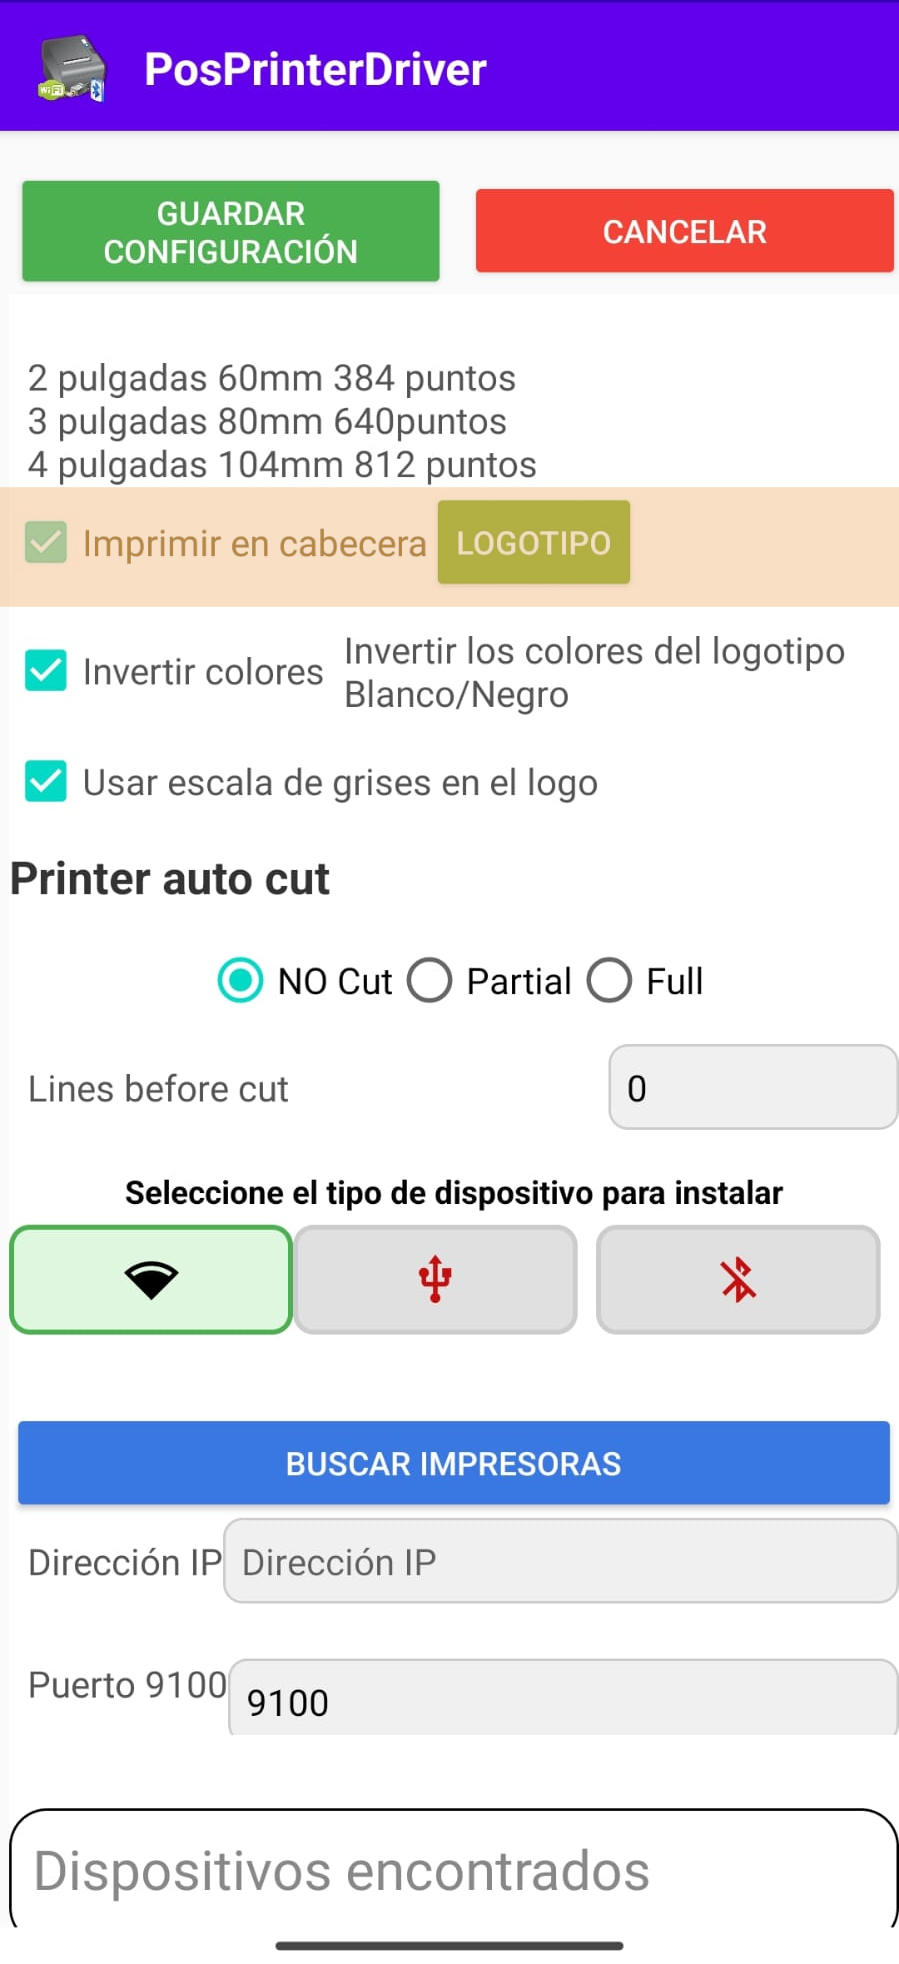
Android and the printer must be able to communicate. Enter the printer's IP address and TCP port, often 9100. Avoid an address that changes over time.
USB
Connect using the correct cable or OTG adapter, select the detected device and accept Android's permission prompt.
Bluetooth
Pair the printer in Android Settings. Return to PosPrinterDriver and select it from the list.
Paper and resolution
| Profile | Print width used by the app | What to check |
|---|---|---|
| 2 inches | 384 pixels | Actual printable width and logo scaling |
| 3 inches | 640 pixels | Common on 80 mm printers, but test your model |
| 4 inches | 812 pixels | Printer and paper roll compatibility |
| Custom | User-entered value | Do not exceed the print head's printable width |
| Resolution | 180 or 203 DPI | Choose the value that matches your printer |
Logo, cutter and cash drawer
You can select an image up to 500 × 500 pixels, print it as a header, convert it to greyscale or invert it. Run the logo test before enabling it for real jobs.
Cutting can be disabled or set to partial or full, with feed lines before cutting. Cash drawer opening and cut types depend on the printer supporting those ESC/POS commands.
- If the logo is cropped, reduce its width and check the paper profile.
- If it appears black or inverted, check greyscale and inversion settings.
- If cutting fails, try the other mode and confirm hardware support.
Visual references